Home
Contact Us
E-Club
513-735-4653
Gift Certificate
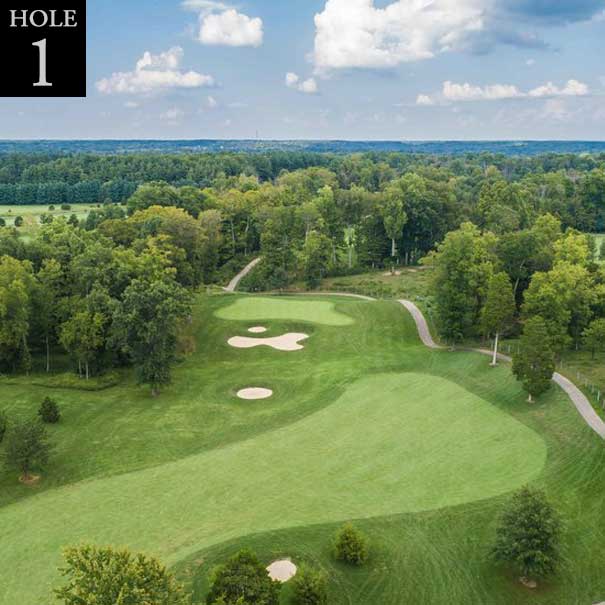
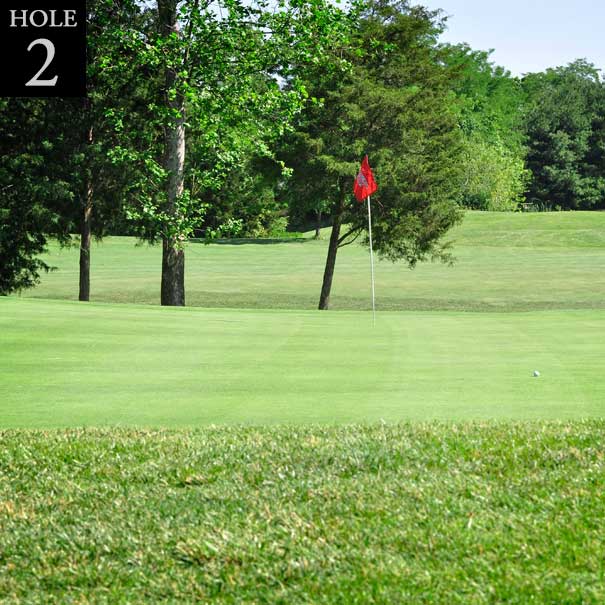
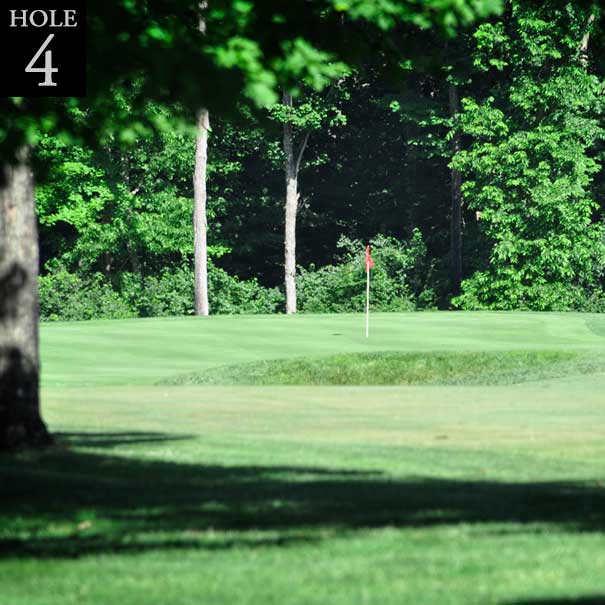
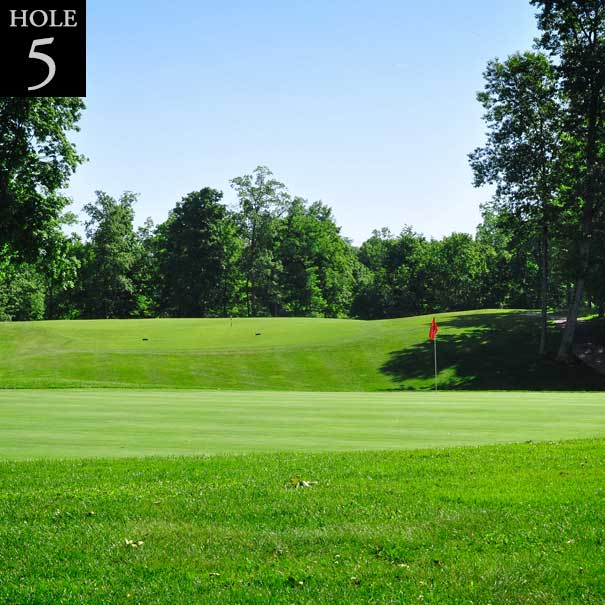
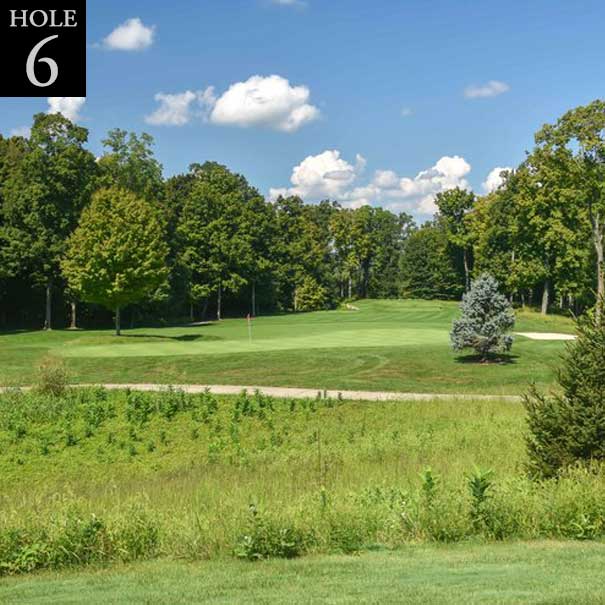
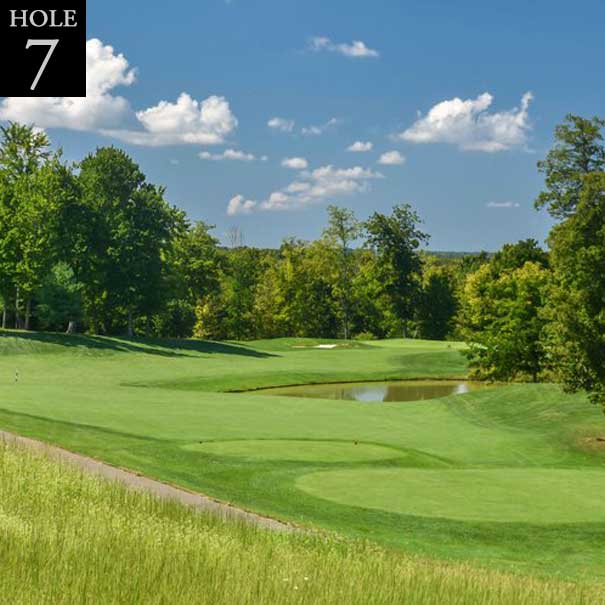
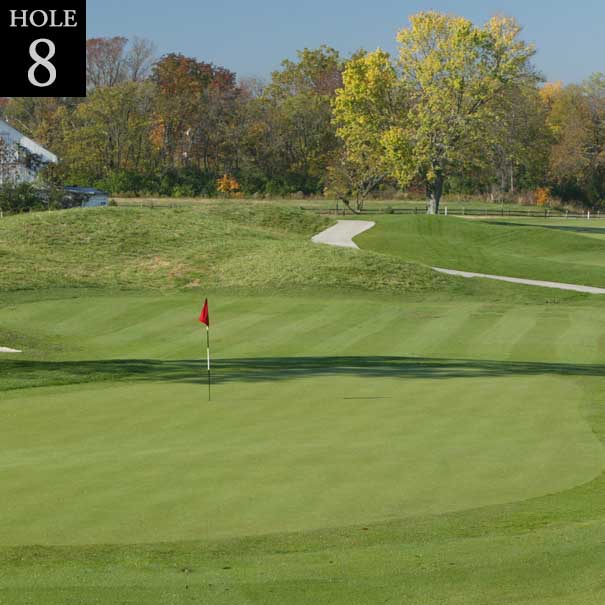
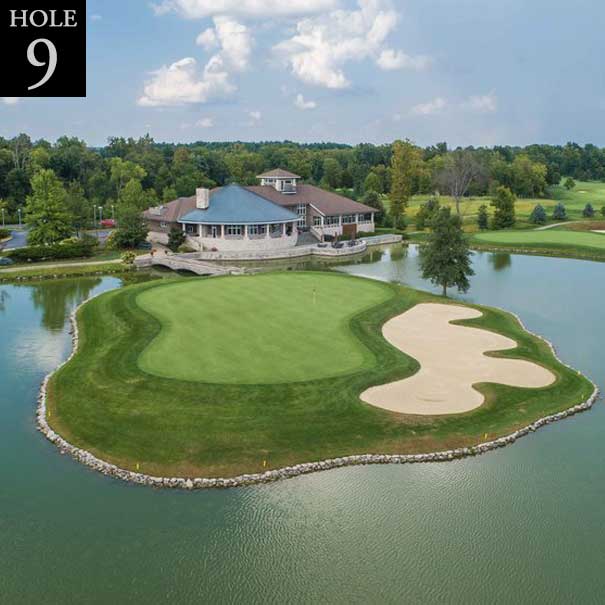
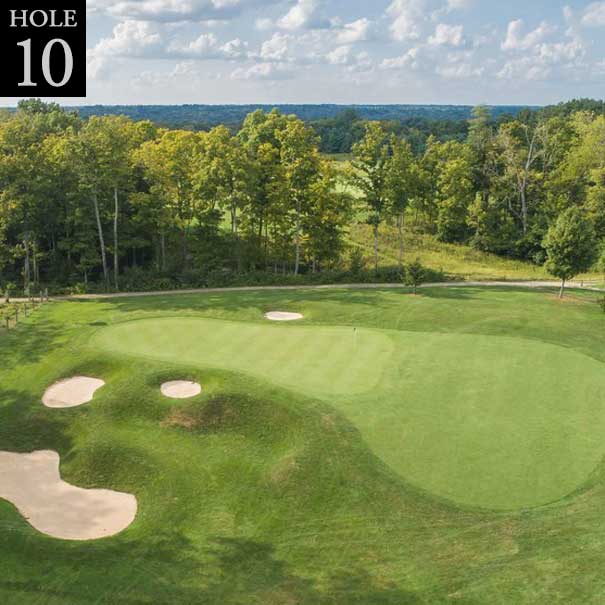
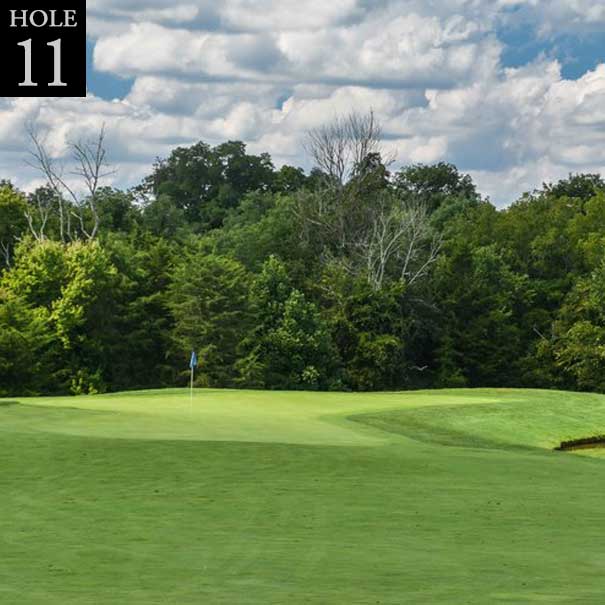
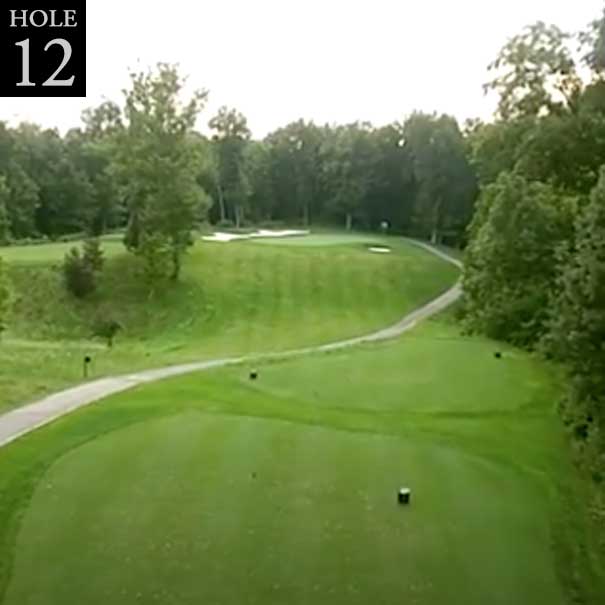
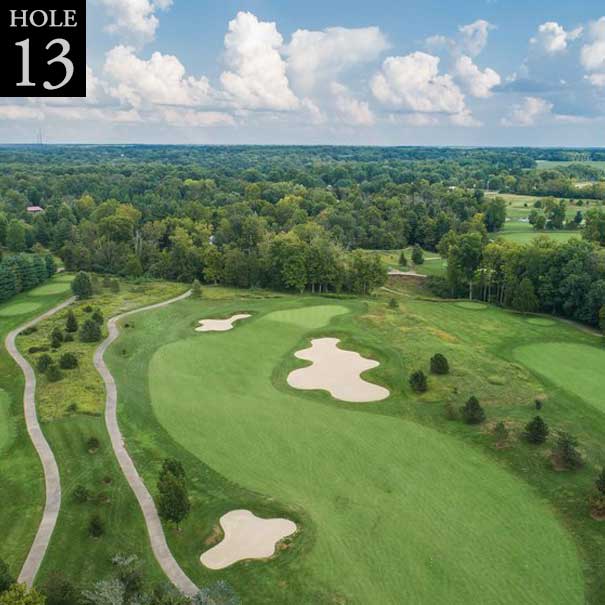
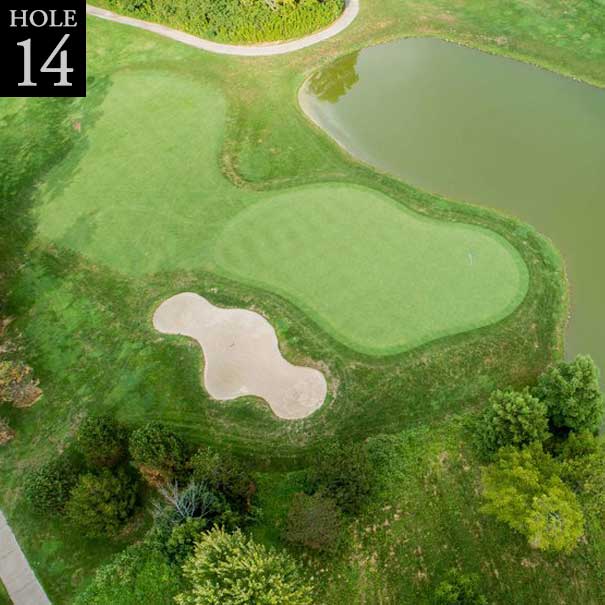
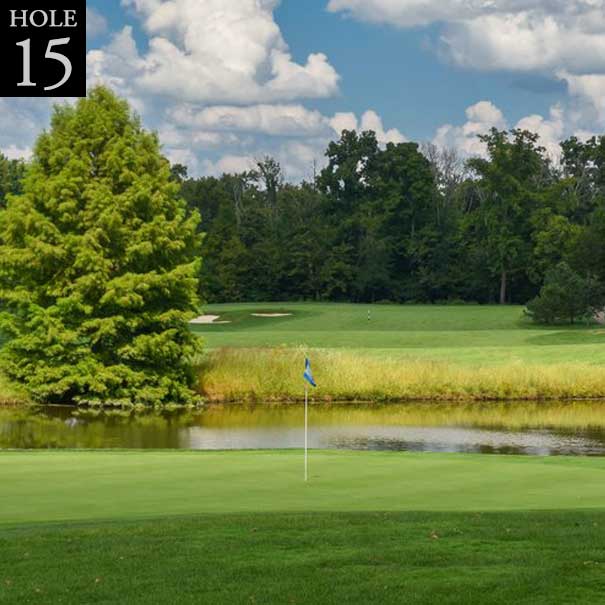
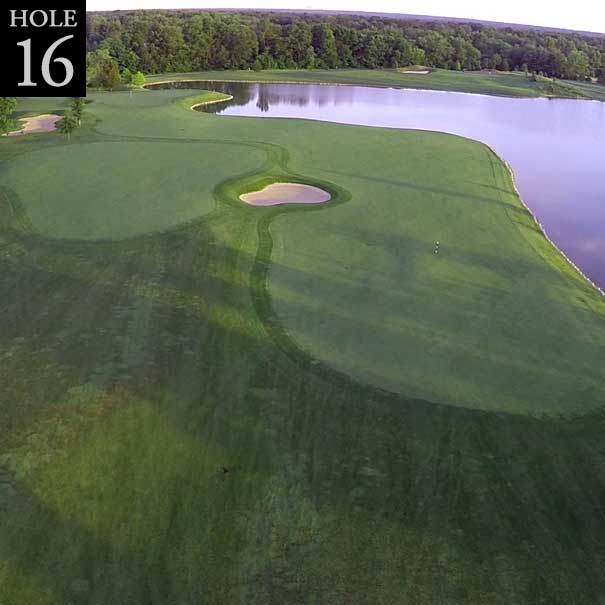
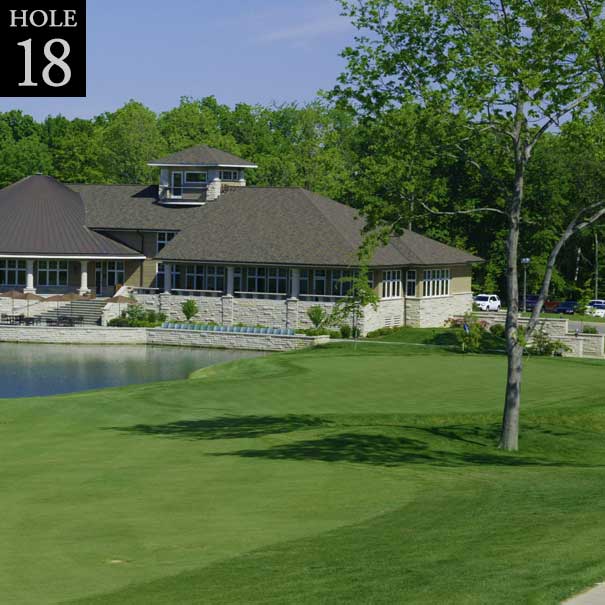
Click on each hole below to get some useful tips on how to play the hole.
Par 4
Par 3
Par 5